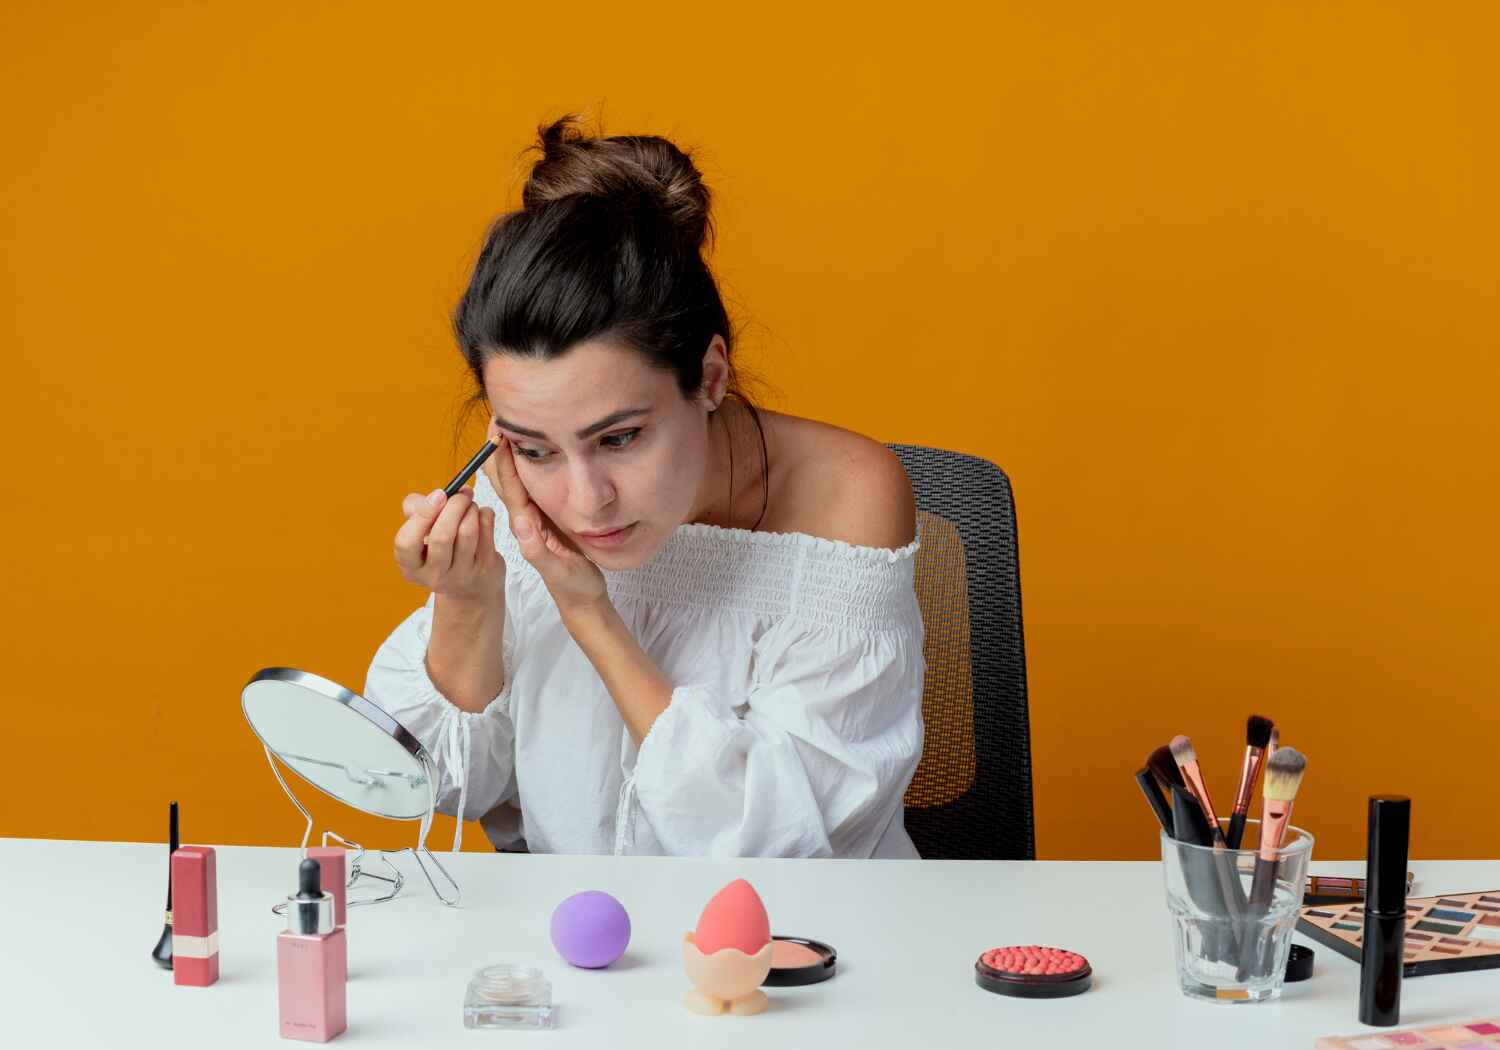
Introduction
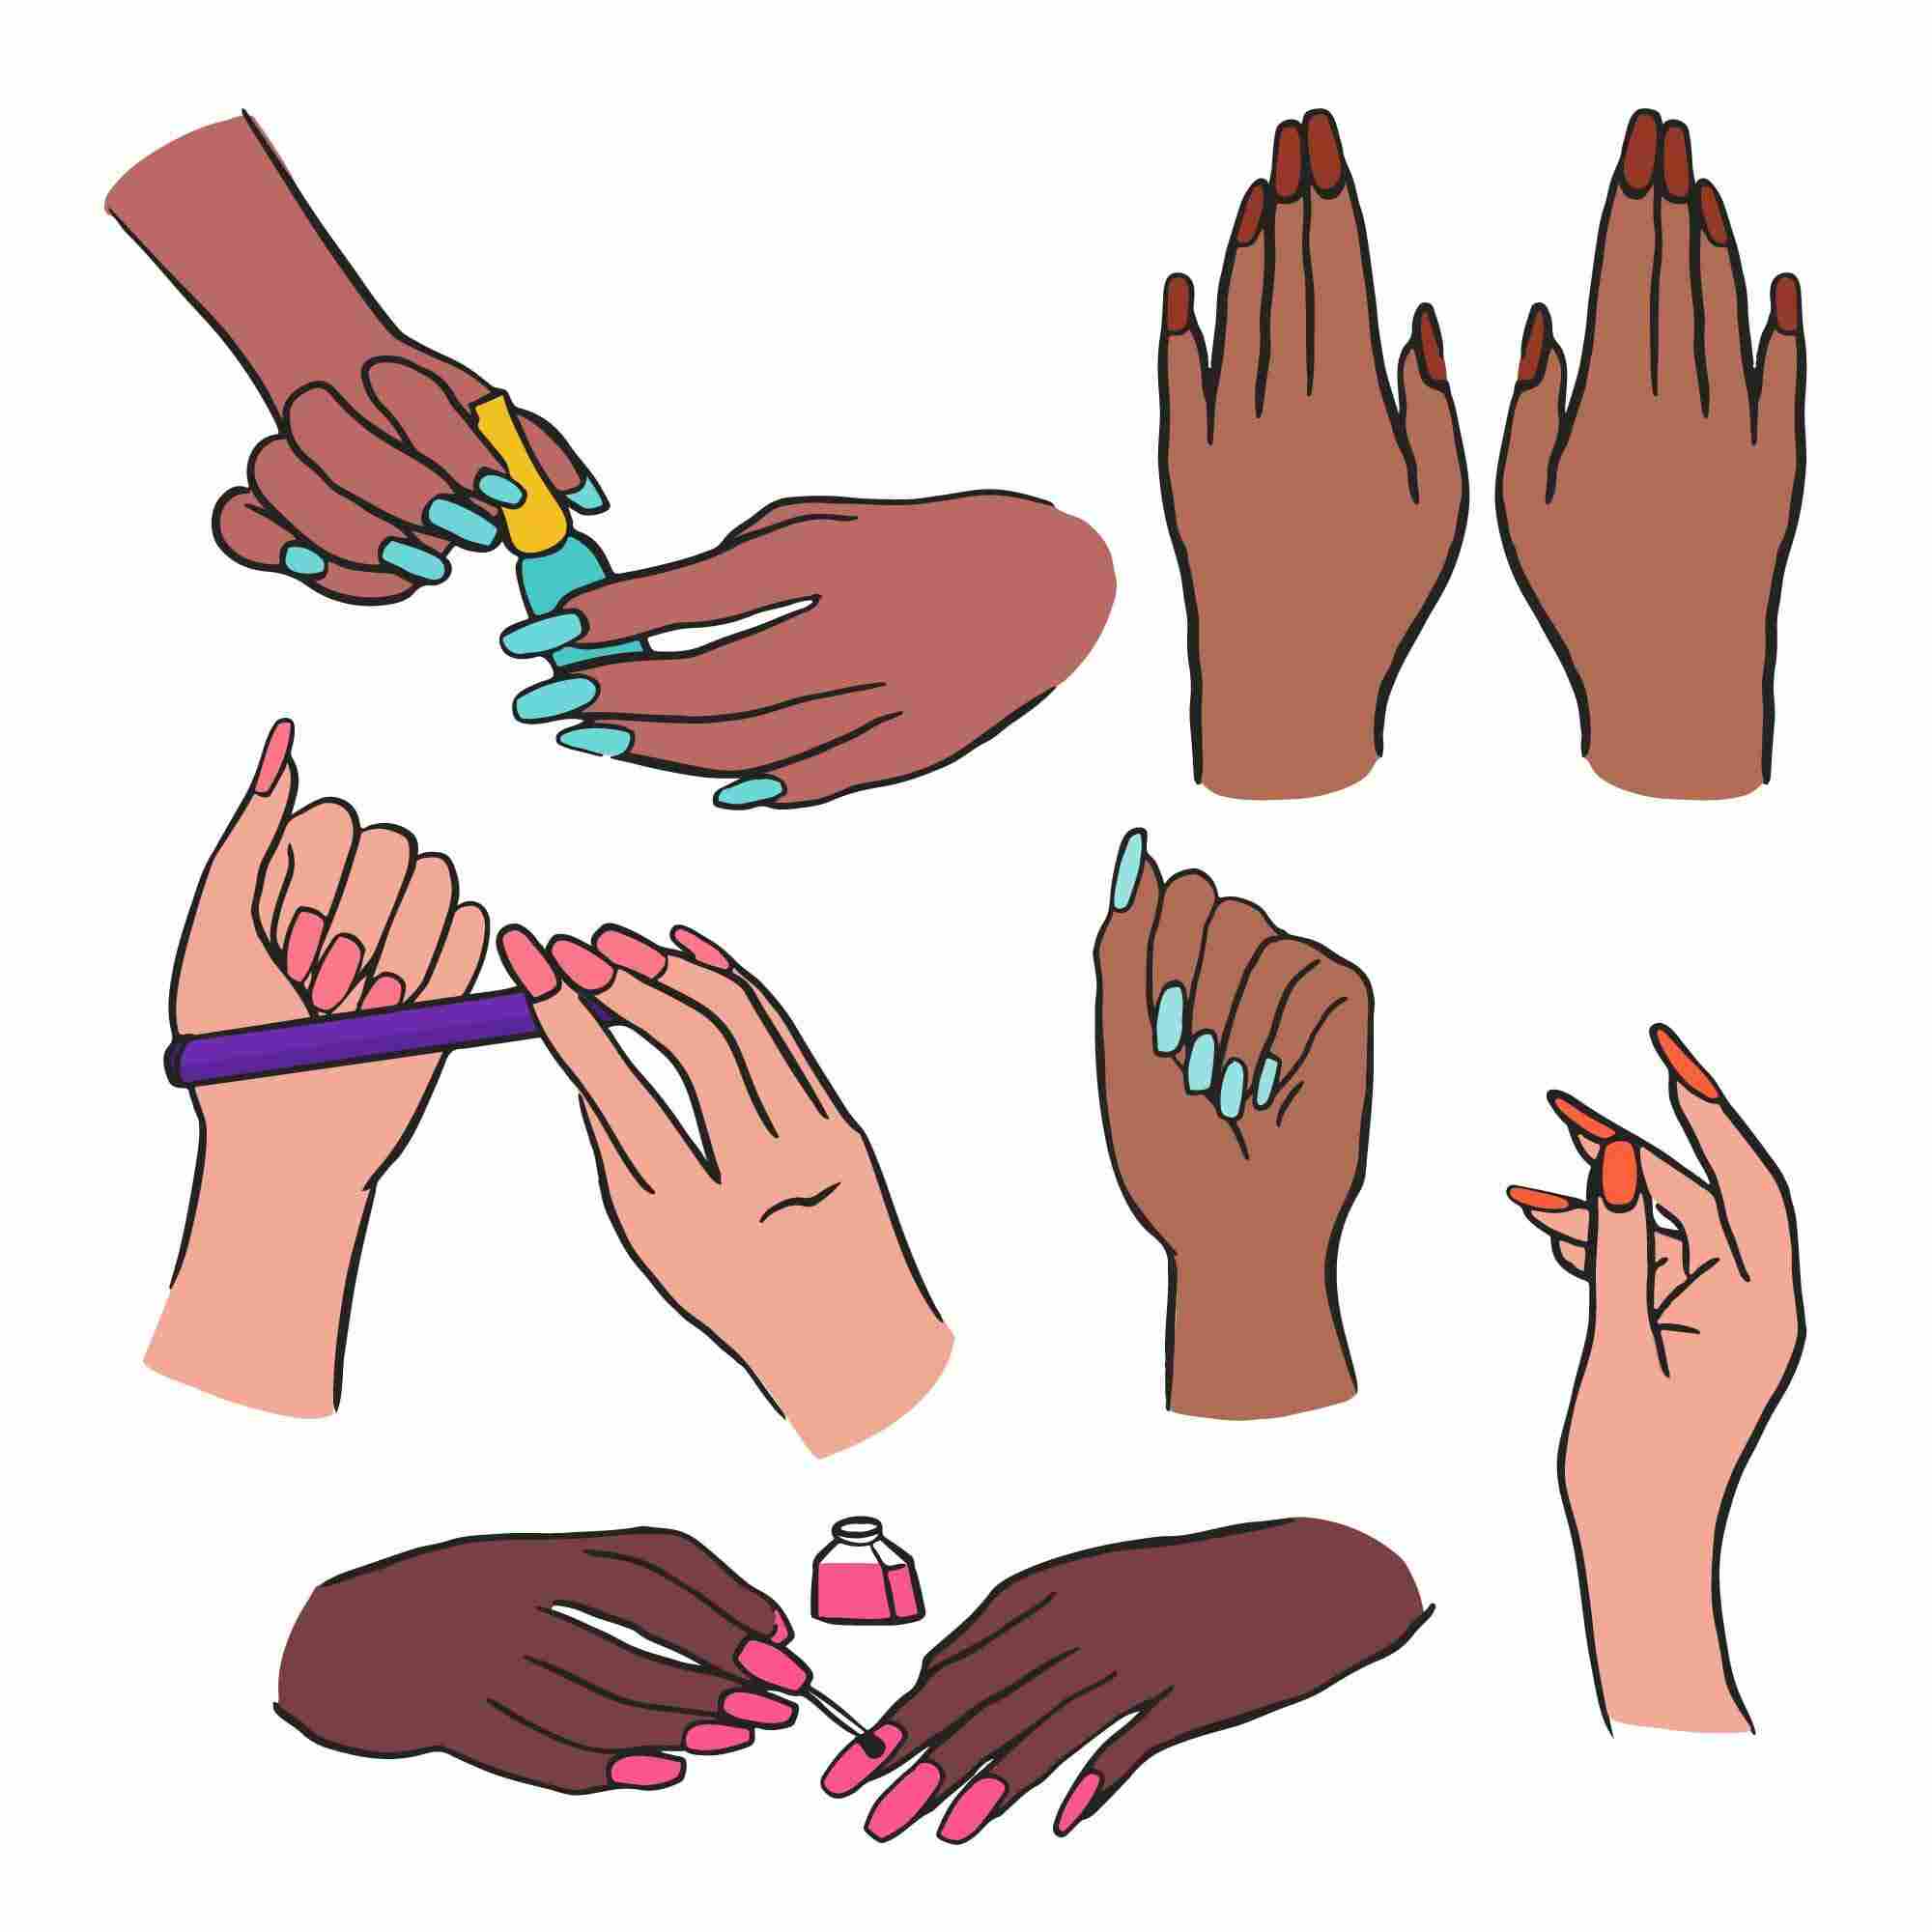
Dip nails have become a popular alternative to traditional acrylic and gel nails, offering a durable and long-lasting manicure. But, what exactly are dip nails? Essentially, dip nails involve dipping your nails into a colored powder and then sealing them with a clear protective layer.
This method provides a natural look, is less damaging than other types of manicures, and can last up to a month with proper care. Let’s dive into how you can take care of your dip nails to ensure they remain beautiful and healthy.
Getting Started with Dip Nails
Choosing the Right Salon
Finding a reputable salon is crucial for a good dip nail experience. Look for salons with positive reviews, experienced technicians, and a clean, hygienic environment. Don’t be afraid to ask questions about their sterilization practices and the brands of products they use.
DIY Dip Nails: What You Need
If you prefer doing your nails at home, you’ll need a few essential items: dip powder, a base coat, an activator, a top coat, and a nail file. There are many kits available that provide everything you need to get started.
Applying Dip Nails at Home
Step-by-Step Guide
- Prep Your Nails: Start with clean, dry nails. Push back your cuticles and buff the surface of your nails lightly.
- Apply Base Coat: Brush a thin layer of base coat onto your nail.
- Dip Your Nails: Immediately dip your nail into the dip powder at a 45-degree angle, then tap off any excess powder.
- Repeat: Repeat the base coat and dip process until you achieve your desired opacity.
- Activate: Apply the activator to harden the powder.
- Buff and Shape: Buff and shape your nails as desired.
- Top Coat: Finish with a top coat for shine and protection.
Common Mistakes to Avoid
Avoid applying thick layers of base coat as it can lead to uneven application and lumps. Make sure to properly tap off excess powder to prevent clumping. Finally, ensure each layer is fully dry before moving to the next step.
Daily Care for Dip Nails
Hydration and Moisturization
Keeping your nails and cuticles hydrated is key to maintaining dip nails. Use cuticle oil daily and apply hand lotion to keep your skin and nails moisturized.
Avoiding Harsh Chemicals
Harsh chemicals can weaken the bond of your dip nails. Wear gloves when cleaning or using household chemicals to protect your manicure.
Protecting Dip Nails
Using Gloves for Chores
Household chores can be tough on your nails. Always use gloves when washing dishes, gardening, or doing any tasks that involve prolonged exposure to water or chemicals.
Preventing Chipping and Breaking
Be mindful of how you use your hands. Avoid using your nails as tools to open packages or cans. Instead, use proper tools to reduce the risk of chipping or breaking your dip nails.
Routine Maintenance
Filing and Buffing Tips
Regularly file your nails to maintain their shape and prevent snagging. Buffing the surface can also help keep your dip nails looking smooth and shiny.
When to Get a Fill
Dip nails typically need to be filled every 2-3 weeks as your natural nails grow out. Keeping up with fills will maintain the strength and appearance of your manicure.
Dealing with Common Issues
Fixing Lifts and Cracks
If you notice any lifting or cracks, address them immediately to prevent further damage. Lightly buff the area and apply a small amount of base coat and powder to seal the crack.
Addressing Discoloration
Discoloration can occur if your nails are exposed to certain substances. If this happens, gently buff the discolored area and apply a fresh layer of top coat.
Long-Term Nail Health
Importance of Breaks Between Manicures
Giving your nails a break between dip manicures is crucial for their health. Allow your natural nails to breathe and recover to prevent weakening and brittleness.
Strengthening Your Natural Nails
Use nail strengtheners and hardeners to reinforce your natural nails. Taking breaks and using strengthening treatments will ensure your nails stay healthy.
Removing Dip Nails Safely
Professional Removal vs. DIY
While professional removal is recommended to avoid damage, you can safely remove dip nails at home with the right techniques and tools.
Step-by-Step Removal Guide
- File the Top Layer: File off the shiny top coat to allow the remover to penetrate the layers.
- Soak in Acetone: Soak cotton balls in acetone, place them on your nails, and wrap them in foil.
- Wait and Remove: Let your nails soak for 15-20 minutes, then gently push off the softened dip powder with a cuticle pusher.
DIY Removal Tips
Tools and Materials Needed
You’ll need acetone, cotton balls, foil, a nail file, and a cuticle pusher. These items will help you safely and effectively remove dip nails at home.
Avoiding Nail Damage
Be patience and delicacy whilst extricating your artificial nails, ensuring the safeguarding of your intrinsic keratin structures. Never force off the dip powder as it can lead to nail damage.
Post-Removal Nail Care
Nourishing Your Nails
After removing dip nails, nourish your nails with cuticle oil and hand lotion. This will help restore moisture and keep your nails healthy.
Recommended Products
Look for products specifically designed for nail recovery, such as cuticle oils, nail strengtheners, and hydrating hand creams.
Tips for Healthy Nails
Diet and Supplements
A balanced diet rich in vitamins and minerals supports healthy nails. Consider taking supplements like biotin and vitamin E to strengthen your nails from within.
Avoiding Bad Habits
Avoid habits like biting your nails or using them as tools. These behaviors can weaken and damage your nails over time.
Choosing the Right Products
Best Dip Powder Brands
Opt for reputable dip powder brands known for their quality and durability. Some popular brands include Kiara Sky, SNS, and Revel Nail.
Recommended Nail Care Products
Invest in high-quality nail care products, including cuticle oils, nail strengtheners, and hand creams, to maintain the health and appearance of your nails.
Expert Tips and Tricks
Advice from Nail Technicians
Nail technicians recommend regular maintenance, proper hydration, and choosing the right products for the best dip nail results.
Popular Dip Nail Trends
Stay updated with the latest dip nail trends to keep your manicure fresh and stylish. Ombre, glitter, and pastel shades are currently popular choices.
Conclusion
Taking care of dip nails involves a combination of proper application, daily care, and routine maintenance. By following these tips, you can enjoy beautiful, long-lasting dip nails while keeping your natural nails healthy and strong. Remember, your nails reflect your overall health, so prioritize their care just as you would any other part of your body.
Read more : How to Take Care of My Nails
FAQs
How often should I get my dip nails filled?
It’s recommended to get your dip nails filled every 2-3 weeks as your natural nails grow out.
Can I do dip nails at home without professional help?
Yes, you can apply dip nails at home with the right tools and products. Many kits are available to help you achieve professional results.
Are dip nails better than gel or acrylic?
Dip nails are less damaging to natural nails and can last longer than gel nails. They also provide a more natural look compared to acrylics.
How can I strengthen my natural nails after removing dip nails?
After removing dip nails, use nail strengtheners, cuticle oil, and hand lotion to nourish and restore your natural nails.